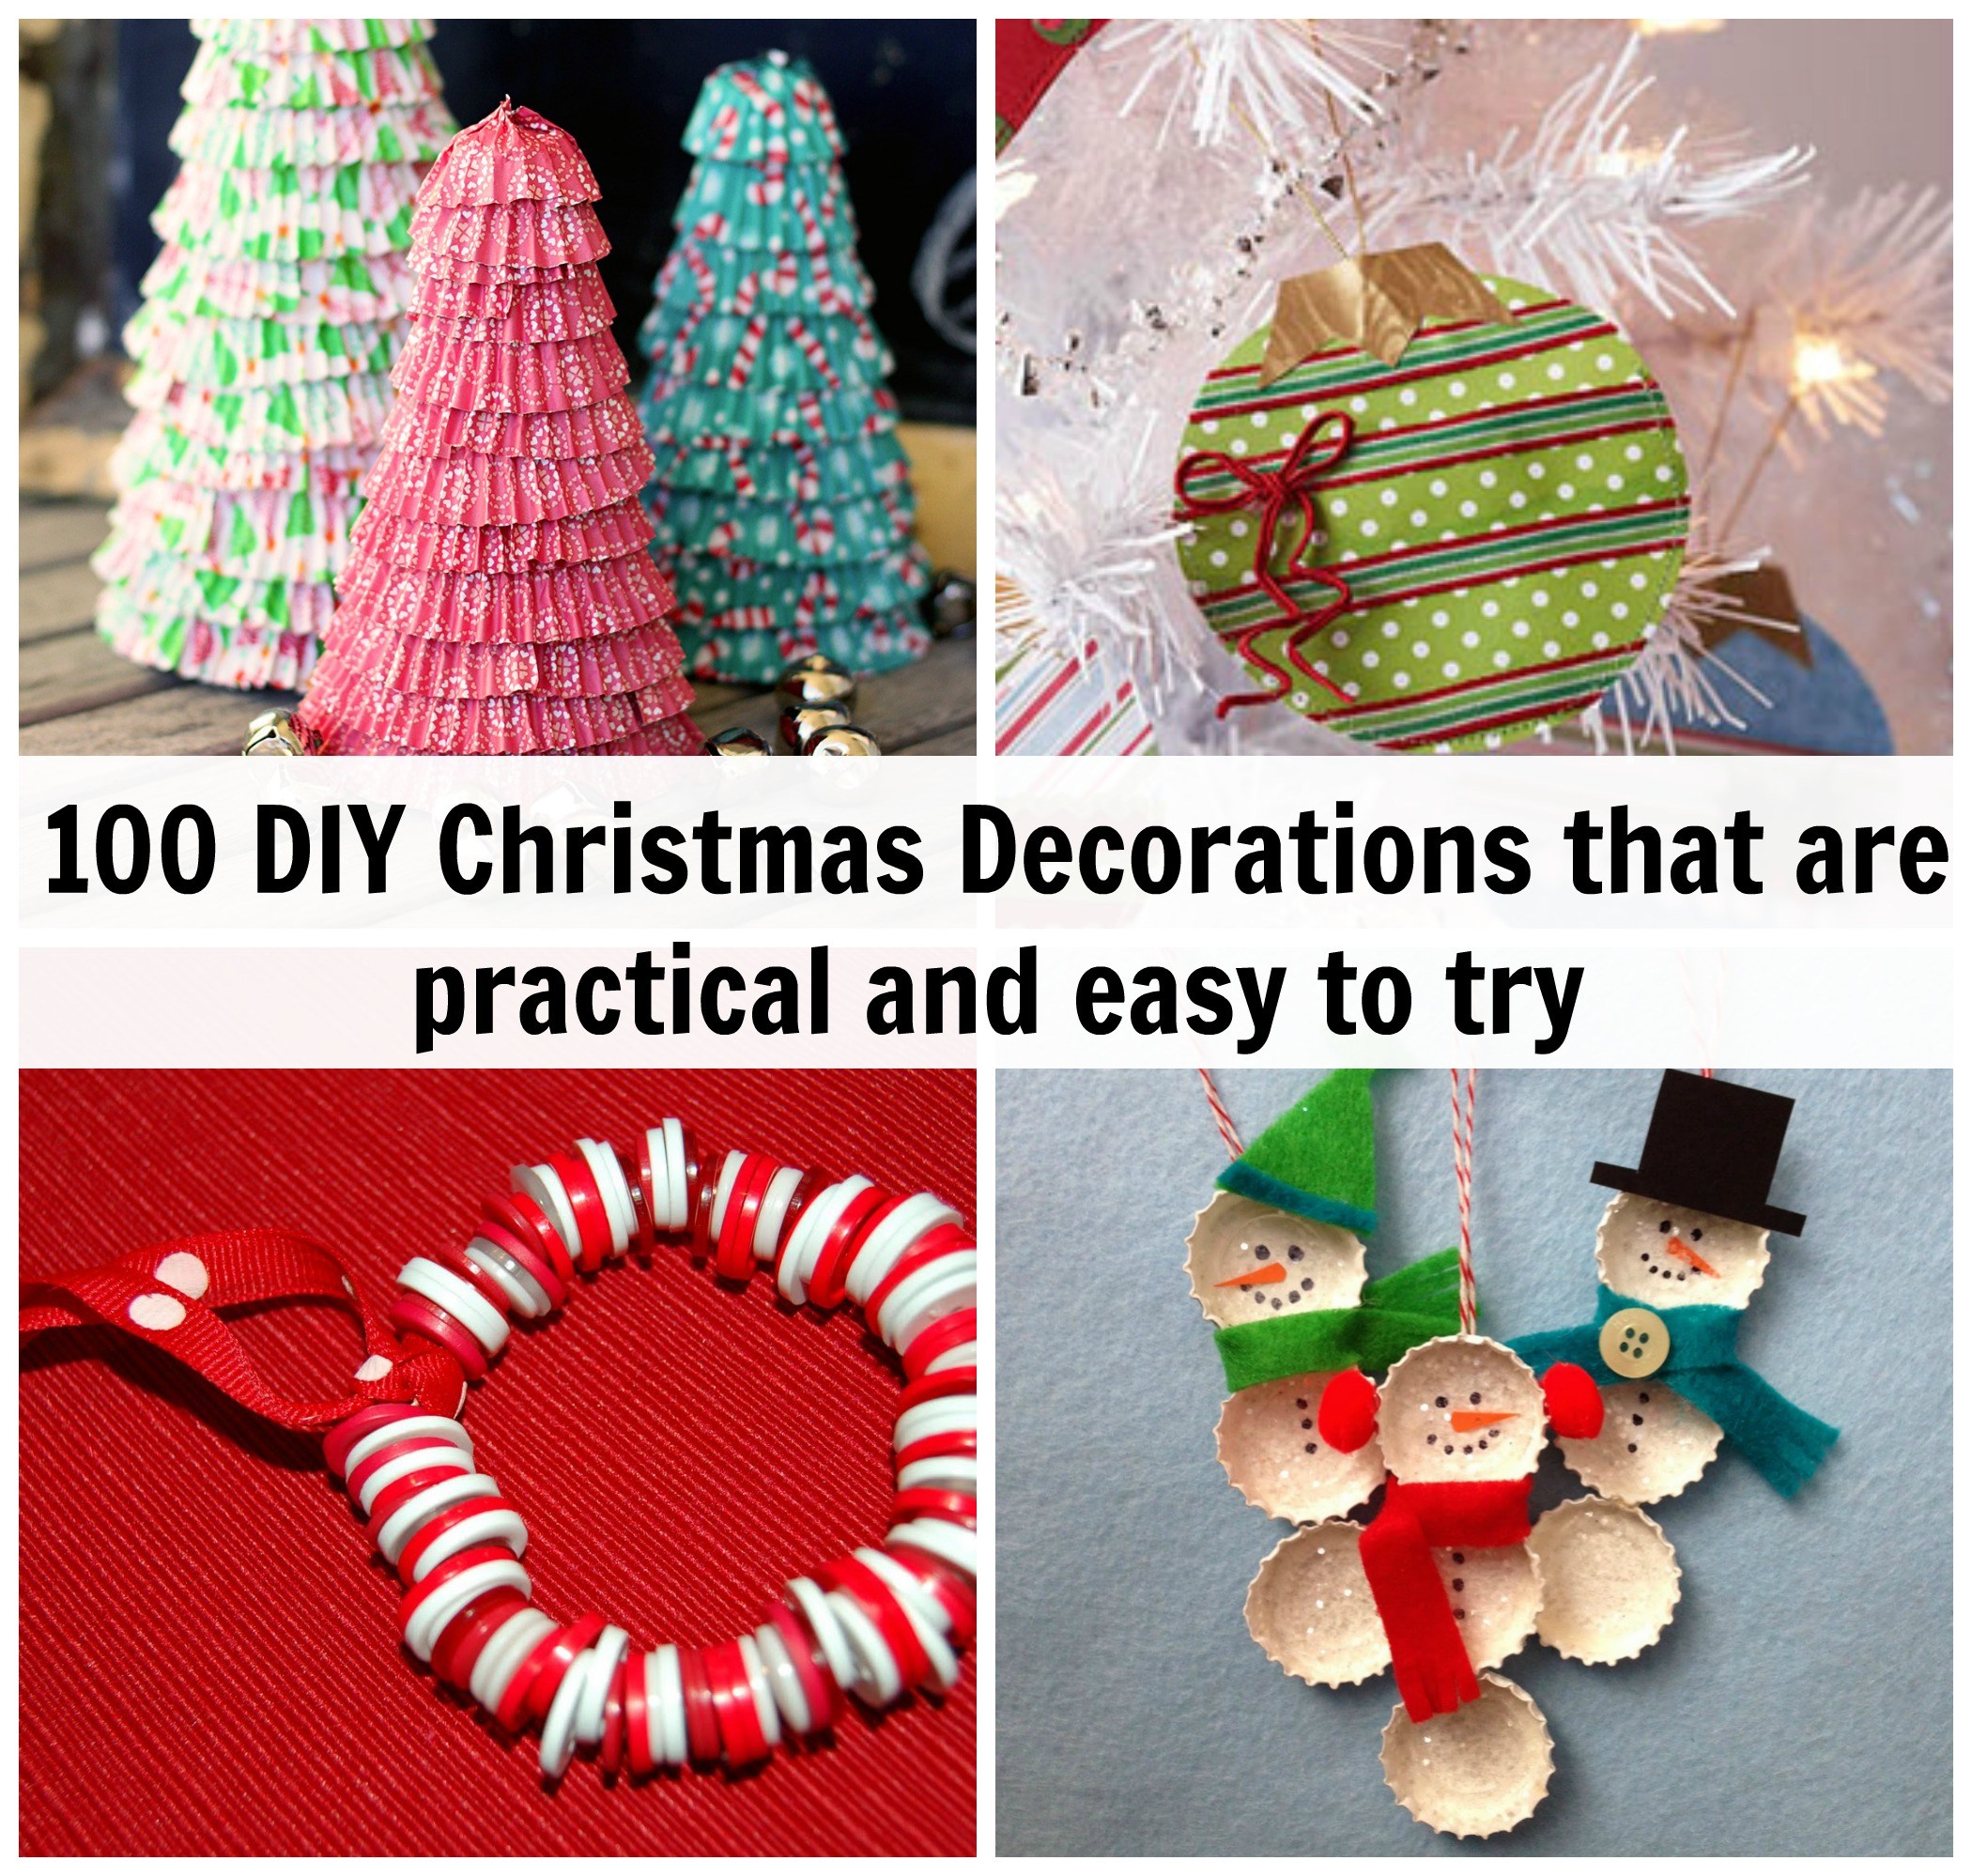
Christmas calls for Carols, Cookies, Celebrations and the best part the Christmas Tree! But the most fun part of this season is decorations. Shops, Malls and houses are decorated with lights and Christmas significant decorations. This week we decided to have some fun and get creative by doing our own decorations. The decorations are easy and the idea is that kids can help out. They feel involved. We have listed  a few of our favourites but hop over to our Pinterest Page to see the rest.
1. Glittery Snowflake: You will need Colored Popsicle sticks, Glitter, Glue and brush. If you dont have colored popscle sticks, you could paint them. Wait for it to dry. Use around 5-6 to make a snowflake. Using a brush let the kids spread glue all over the snowflake and spread glitter all over the snowflake. Shake of the excess. Read more here.

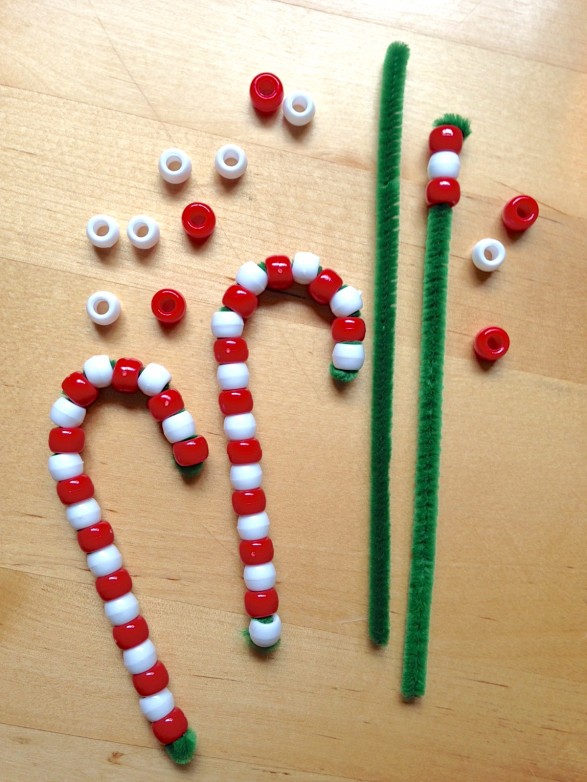
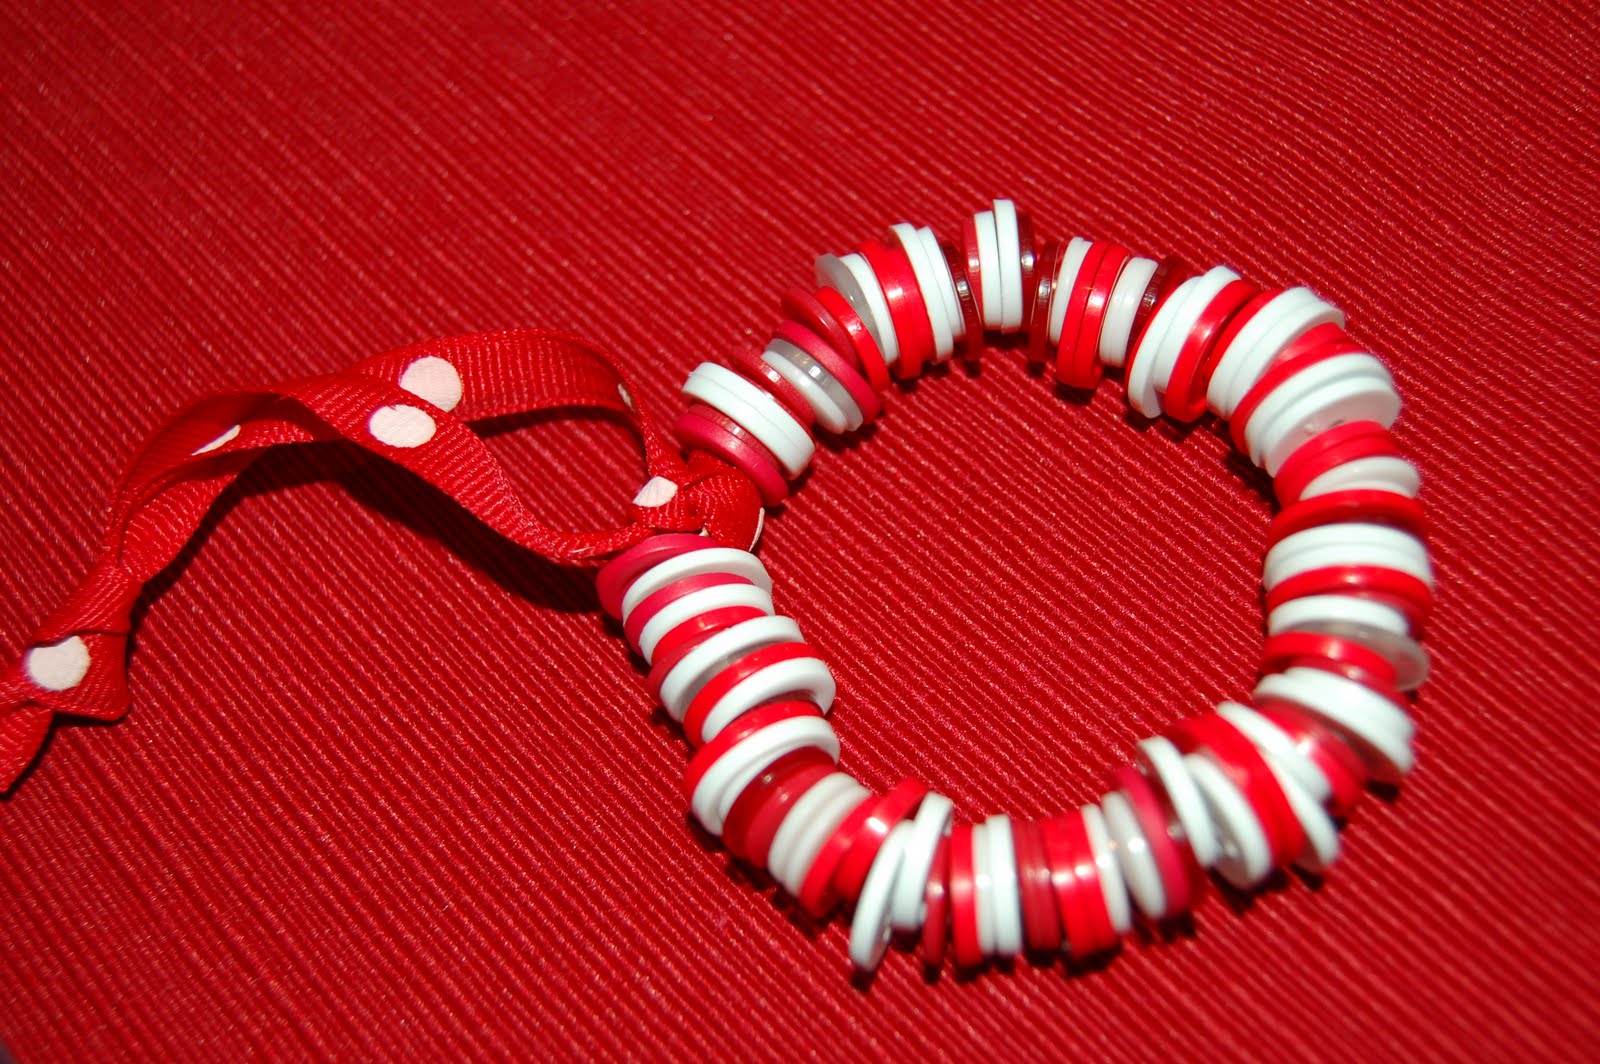
2. Beaded Candy Cane: This one is fun and easy for the little kids to do. You will need a pack of green chenille pipe cleaners ( 12″ x 6mm), 1 pack of pony beads ( red, 6×9 mm), 1 pack of pony beads (white, 6×9 mm). Cut the pipe cleaners in half using a scissor. Begin with alternating red and white beads into the pipe cleaner. Turn the end around the last bead. Bend the front into a candy cane shape and your Christmas decoration is easy. Read more here.
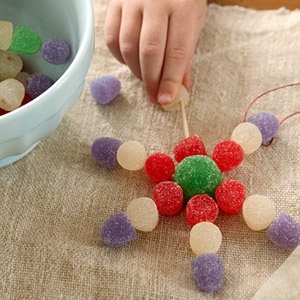
3. Gumdrop Flake: This one could give the kids and you a sugar rush. You will need Gumdrops Candy and toothpicks. Stick six toothpicks into a large gumdrop and stack smaller gumdrops to make an ornament. Try not to finish all the gumdrops before the ornament is made. Read more here.
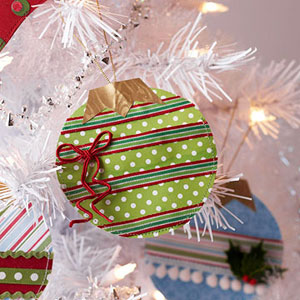
4. Wrapping Paper Ornaments: This activity is easy and requires things available at home. Get out the old wrapping paper or even scraps of it. Use a can or a circular object and trace it. Cut it out and attach a ribbon. Done! Read more here.
5. Button Wreath: This piece of decoration is different and easy. You will need wire cutters, 9 inch floral wire, 72 buttons for each wreath, Scissors Satin ribbon, 1/8 inch wide and 6 inches long. Using pliers, make a small loop at one end of the wire. Thread buttons onto the wire until you have enough to form the size of the wreath you want. Using pliers, bend the plain end of the wire around the looped end. This will form the wreath. You can add a ribbon as well. Read more here.
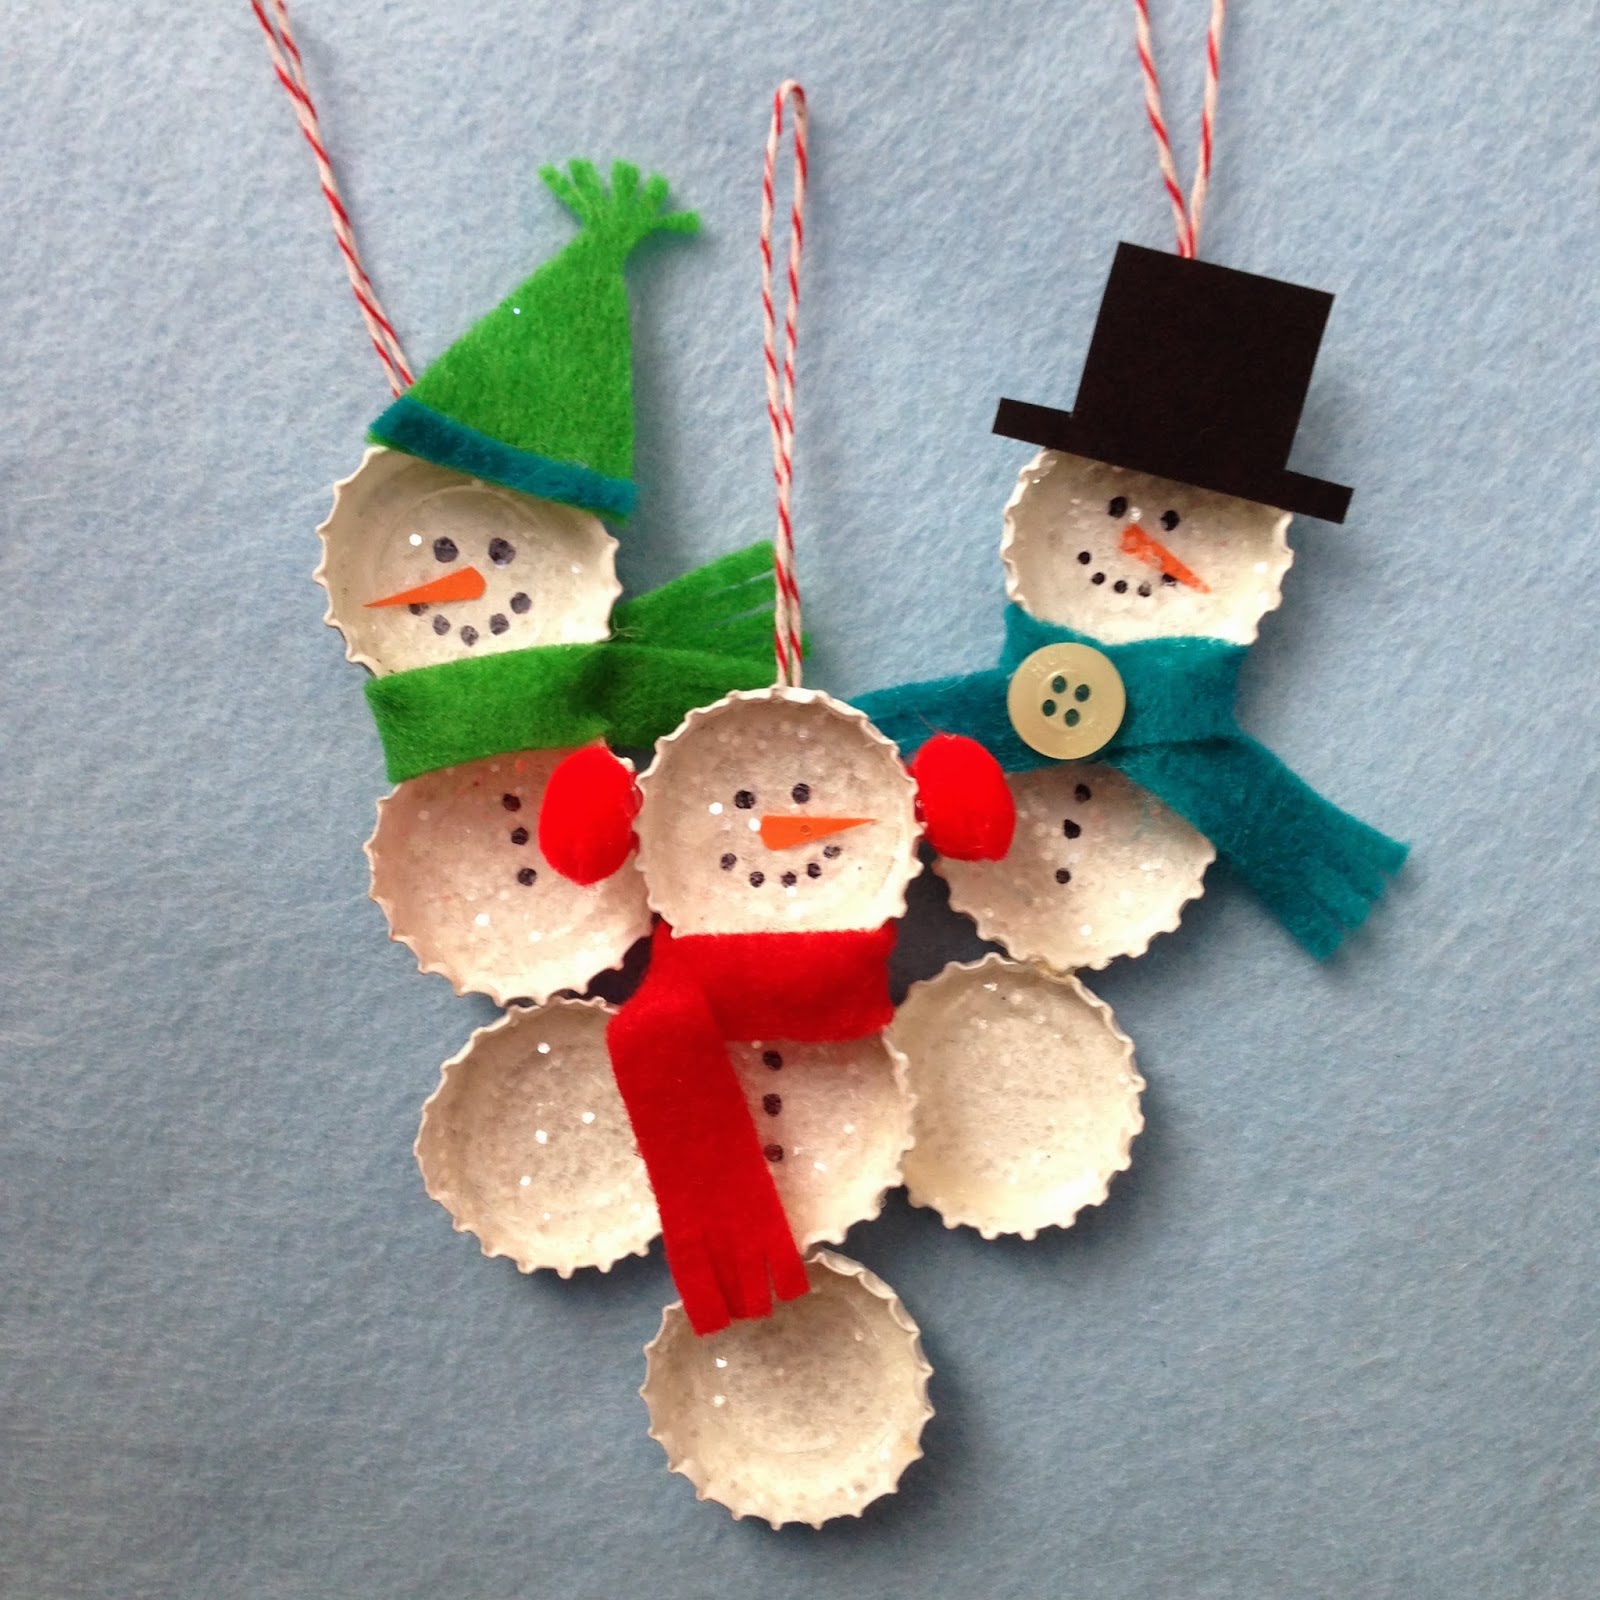
6. Bottle Cap Snowman: You will need bottle caps, white, black, orange, and red acrylic paint, hot glue gun and glue sticks,buttons. Paint the inside of each bottle cap white. It’s a little tricky getting it to coat completely, so you’ll probably need to so several coats, letting it dry in between. Glue three bottlecaps to a piece of ribbon.  Also glue the bottlecaps to each other . Form a loop with the top of the ribbon and glue in place. Use the end of a paintbrush to paint eyes, a nose, mouth and buttons on your snowmen. Optionally you can tie a ribbon or yarn between the first and second bottle caps to make a scarf. Read more here.
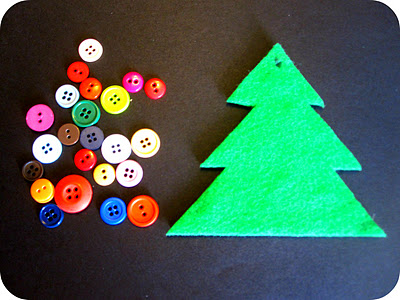
7. Button Christmas Tree: This activity is easy and the little ones can be part of it. You will need green felt, foam sheet, ribbon, various sized/coloured buttons, glue. Trace out a Christmas tree on the foam sheet and felt. Use glue to attach the felt to the foam back. Now sort the buttons and choose your favourites to decorate the tree with. Make a hole on the top of the tree and stick the buttons. Read more here.
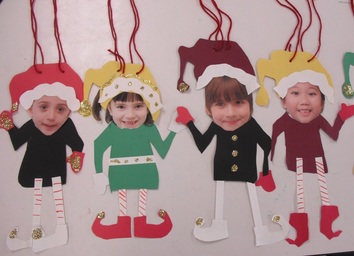
8. Elf Yourself: You will need construction paper and a photograph of yourself. Using the construction paper, make a smaller cut out of yourself with hands and legs. Stick a photograph of yourself to the top of the body. And add a elf’s hat to it! Read more here.
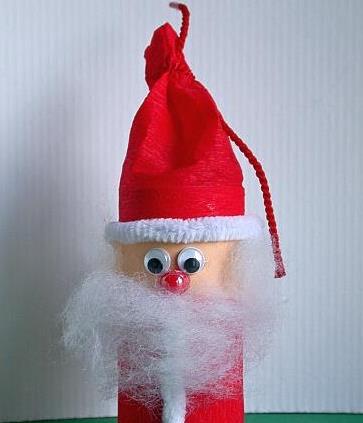
9. Toilet Paper Roll Santa: Such a cute and adorable Santa! You will need 1 long toilet paper roll, red crepe paper, red, white, beige construction paper, pair of googly eyes, bead/button for the nose,  cotton batting for beard and glue. First cut a wide strip of beige construction paper and adhere to the top half of the toilet paper roll. Take a wide strip of red crepe paper and adhere it around the top third of the toilet paper roll. Stick a wide strip of red construction paper (or crepe paper) around the bottom half of the roll.  Stick white paper around the top for the border of the hat and another piece of paper for the coat lining.   Use glue to stick the wiggle eyes and nose.  Glue on the beard and also hair on the side of the head. Read more here.
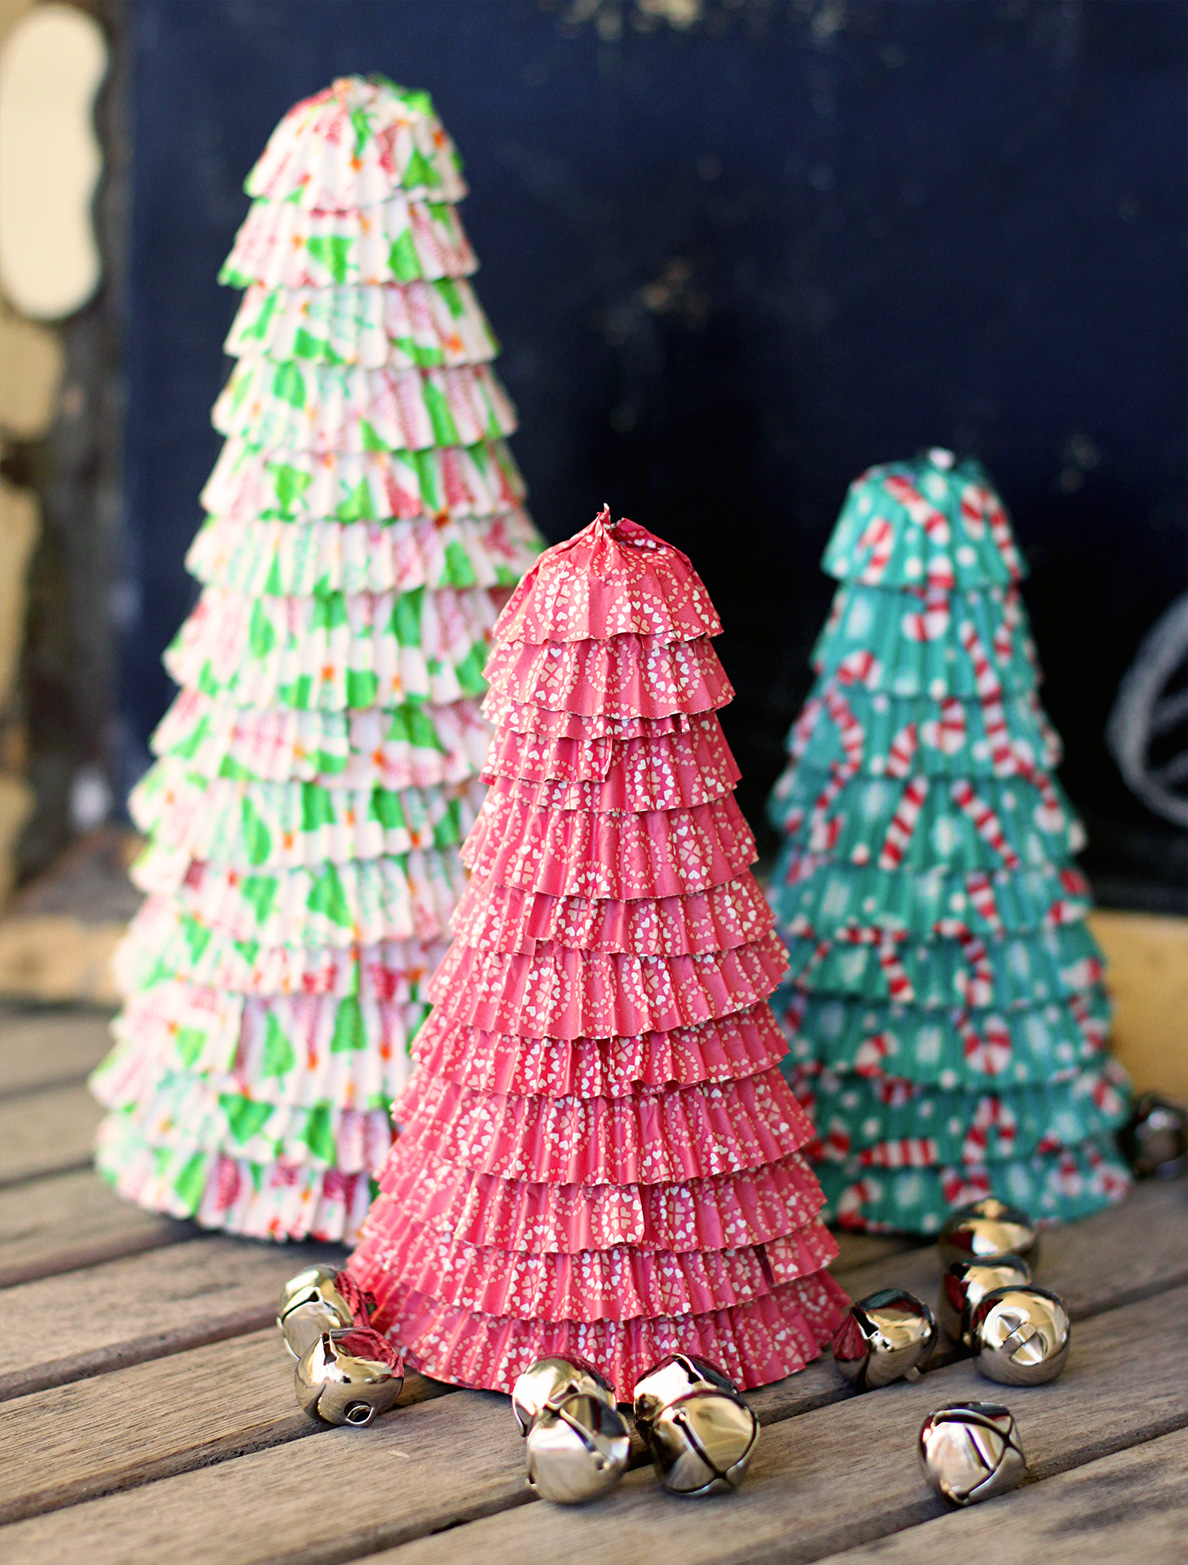
10. Cupcake Liner Tree: You will need  12×12 Cardstock, Cupcake Liners, and Tape. Make the cone with your cardstock. Tape the ends well so the cones hold their shape. Cut excess of the bottom so they can stand straight. Cut the center of your cupcake liners. Start taping the ruffles from the bottom to the top. You many need to use multiple ruffles for one layer of the tree.  Before you reach the top cover the tip of the tree with one of the centers of the liners. After it is taped and secured finish the last ruffle layer. Read more here.
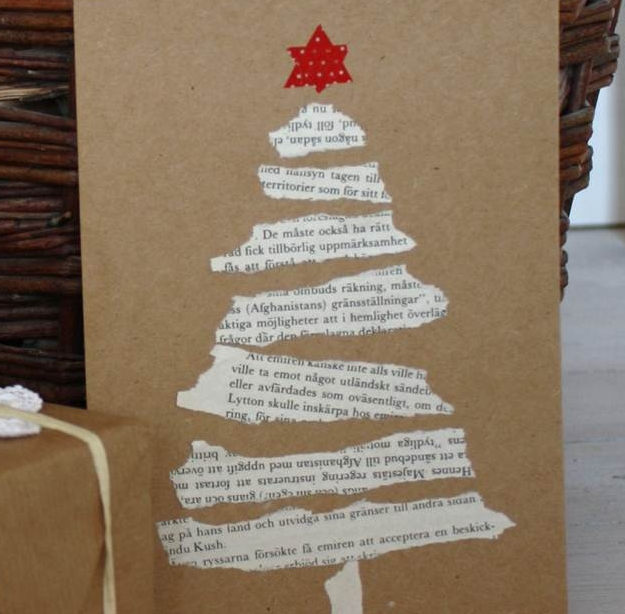
11. Paper Back Card: Take a cardboard square. Tear out pieces of paper from an old book or newspaper and stick them on the cardboard horizontally leaving space. Use red or golden paper to stick the star on the top. Use a vertical torn paper for the wooden bark. Â Read more here.
12.  Felt Christmas Tree: You will need green felt, Assorted felt pieces, Hot glue gun and Command velcro strips. Fold the top right corner in toward the center of the piece of felt. This will create a line that you can cut along. Do the same for the top left hand corner. You will then have a large triangle left in the center to use for the tree. Cut different felt ornaments and decorate them with glitter or sequins. Use little glue to stick on the ornaments, which makes it easier. Use little glue to stick the ornaments so it becomes easier to move it around.  Velcro strips can be used to stick the tree to the wall. Read more here.
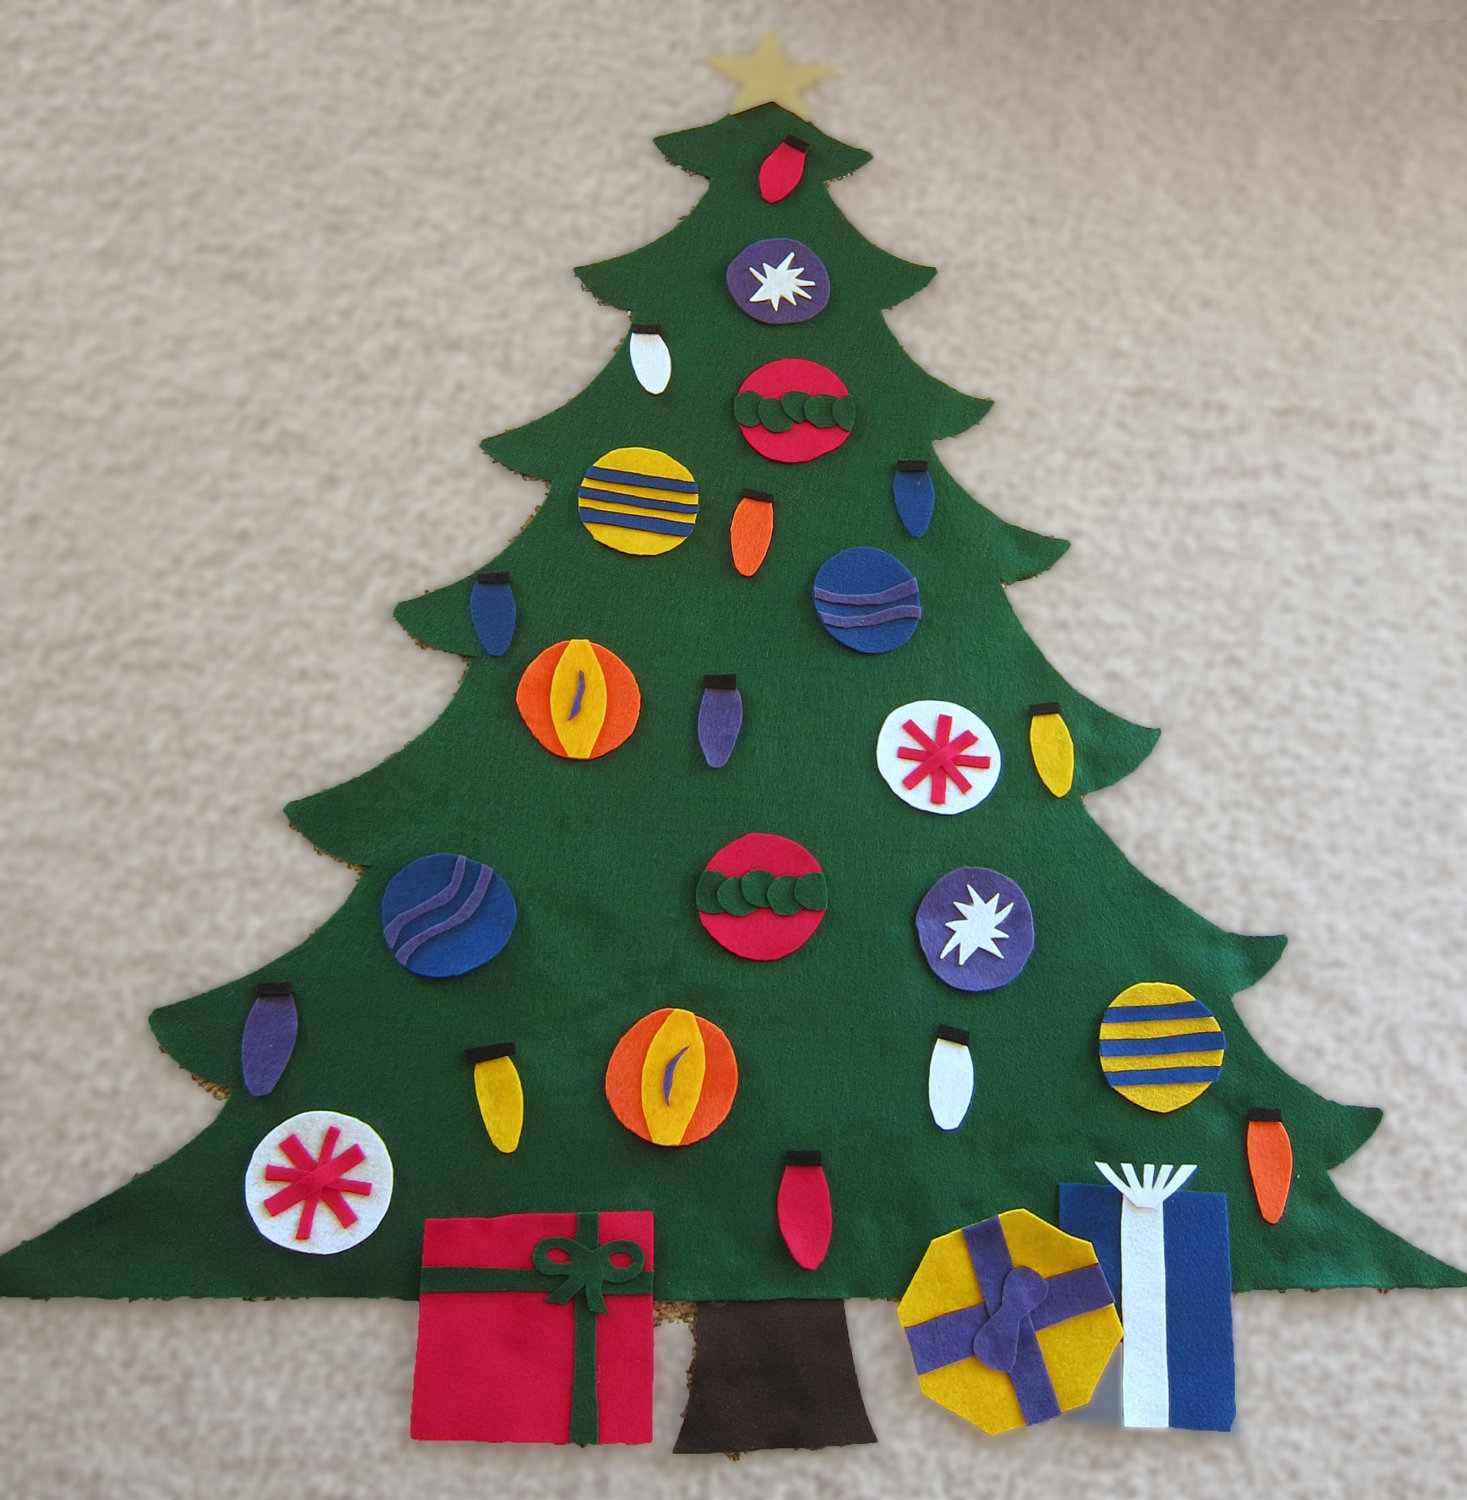
Image Source: Recycling Craft, Craftylumberjacks, simplycreate, etsy, handsonaswegrow, mayflowermusing, ellaandotto, raisingthecameronclan, parents.com