Our wonderful summer fruit bounty is what makes this scorching heat bearable! We’ve got so much to choose from, but I’m a little partial to a few particular fruits. How irresistible is a bowl of glistening, ruby-red cherries? This is one fruit that instantly cheers me up! Plump, ripe, sweet, tart –this nature’s snack sized candy has it all.
Benefits Of Eating Seasonal Produce
- It tastes so much better! The flavour of cherries truly shines; more vibrant and tastier than when they are frozen. Don’t get me wrong, I’m all for freezing ingredients! But when there is the option of eating fresh seasonal produce, then why not?
- Fresher fruits have higher nutritional value. Cherries are high in antioxidant and Vitamin C content. This is reduced after being stored for too long.
- Eating seasonally is also good for the environment – you support local farmers, less long-distance shipping and less irradiation of our food.
What Makes Cherries So Good?
Babies may begin to eat Cherries from about 8 months.
This quintessential summer stone fruit is packed with nutrients. Cherries are
- Rich source of polyphenols and vitamin C, which have antioxidant and anti-inflammatory properties
- High concentration of bioactive compounds, consuming cherries has been proven to promote health.
- Help reduce the risk of several chronic inflammatory diseases including, diabetes and cancer.
- May help improve sleep, cognitive function, and recovery after exercise.
Without much further ado, here are 6 cherry recipes your kids can’t say no to! With some simple ingredients and a generous serving of fresh cherries, you’re on your way to happy bellies!
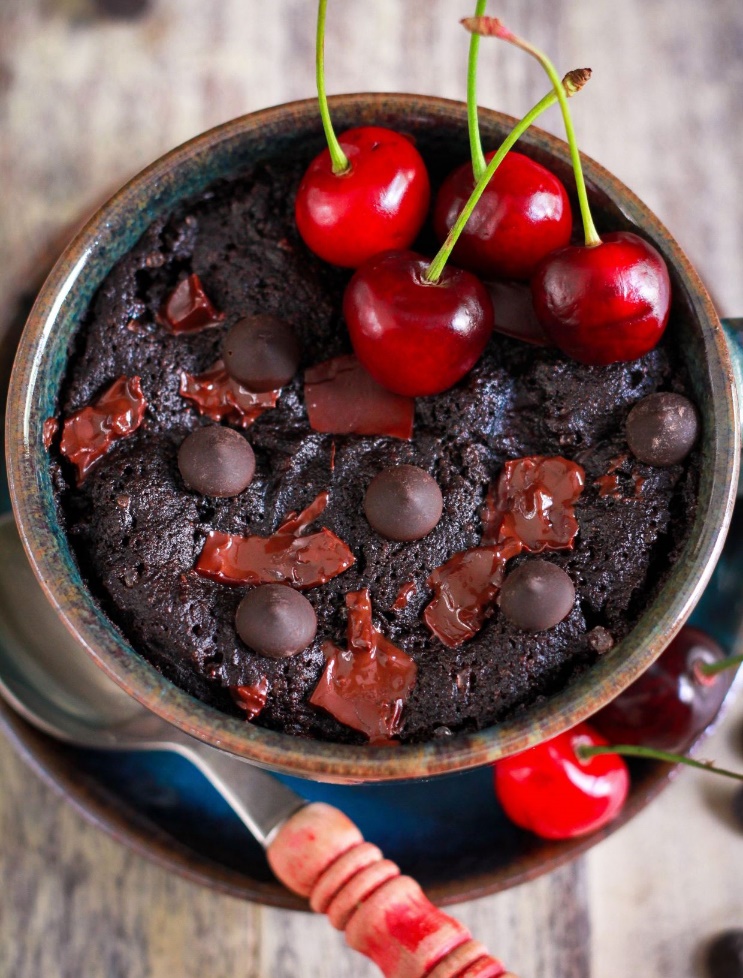
Chocolate Cherry Mug Cake – Serves 1
This easy 5 minute one bowl, vegan, gluten-free recipe is a keeper!
Ingredients
- 4 Tbsp Ragi / Finger Millet Flour
- 1/4 Tsp Baking Powder
- 1/8 Tsp Baking Soda
- 1/8 Tsp Salt
- 1.5 Tbsp Sugar
- 1 Tbsp Cocoa Powder
- 2 Tbsp Coconut Oil
- 2-3 Tbsp Coconut Milk
- 1 Tsp Vanilla Extract
- 2-3 Tbsp Dairy Free Chocolate Or Dark Chocolate (70%) Chips
- 8-10 Cherries, Pitted And Halved
Method
- Combine all the dry ingredients – flour, baking powder, baking soda, sugar, salt and cocoa powder in a small bowl. Whisk with a fork to break up all lumps.
- Stir in the wet ingredients – coconut oil, milk, vanilla extract. Mix well. You should have a thick batter. If the batter seems too dry, add another tablespoon of milk.
- Fold in the chocolate chips and cherries.
- Scrape the mixture into a microwave-friendly mug. Place a plate underneath ( to catch any overflow).
- Sprinkle some chocolate chips if you like. Set the plate in your microwave and cook for 1 minute 15 secs. You may have to cook for another 30 secs, depending on your microwave.
- Let the cake cool down for a few minutes and then serve it warm, with or without ice cream! Enjoy!
- Note: You can bake this cake in your oven too. Since it’s a small one, at 180° C, 8-10 minutes should be sufficient.
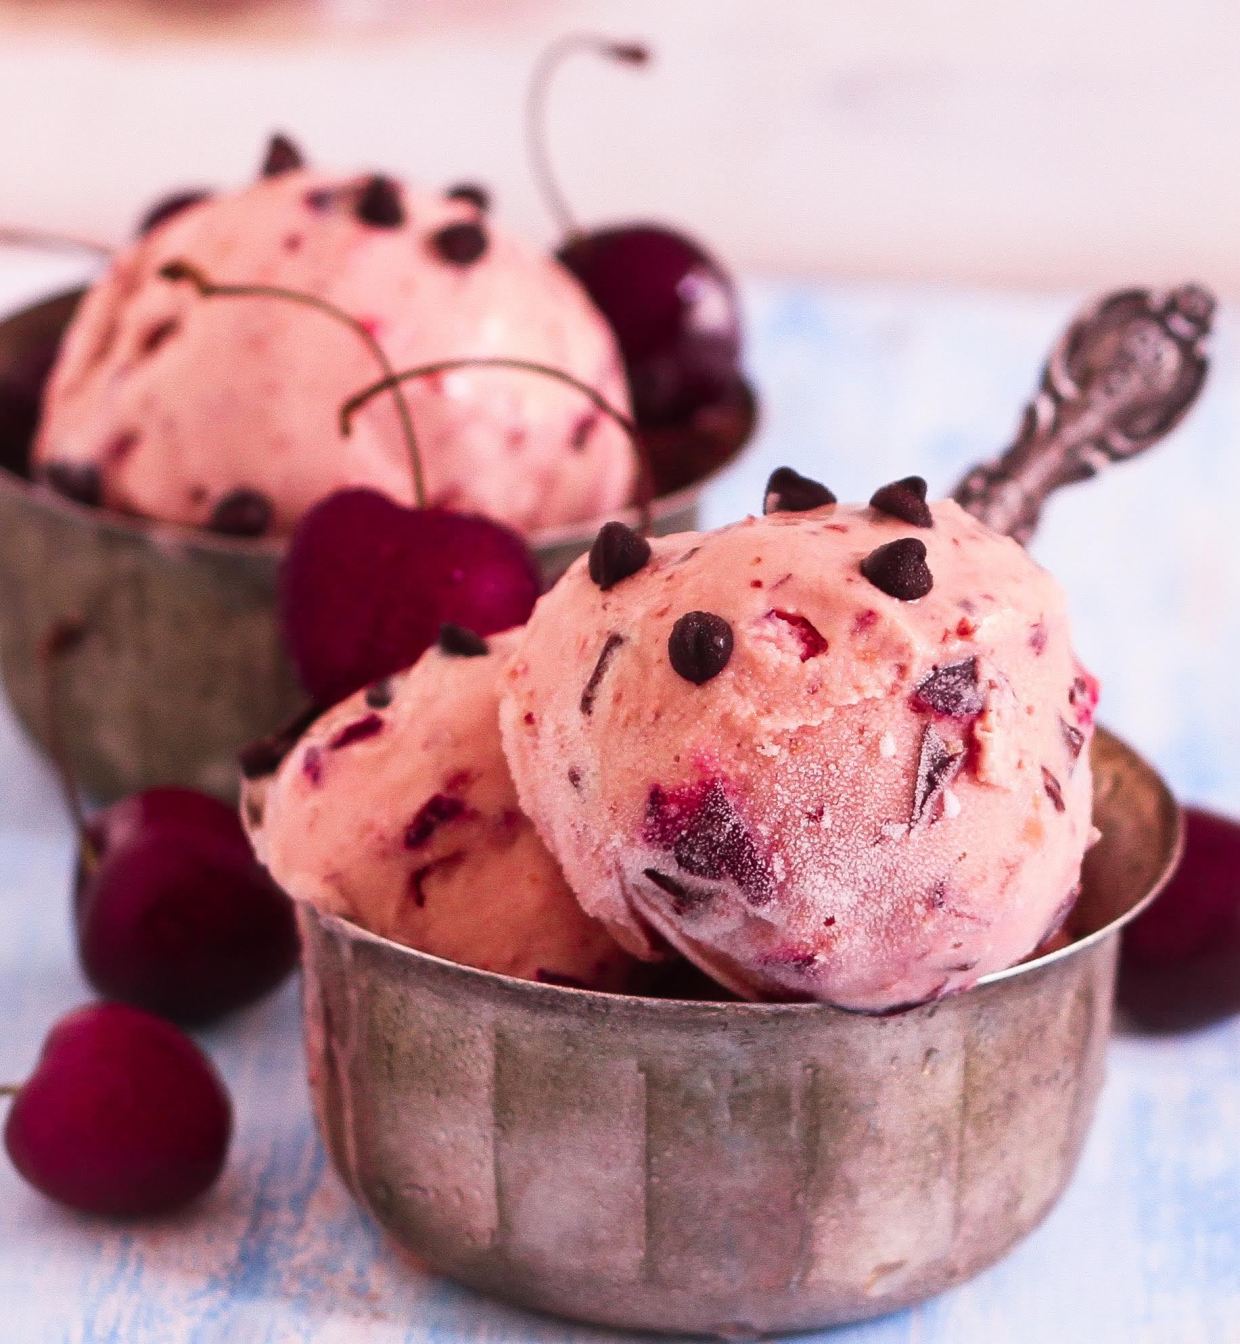
Cherry Frozen Yoghurt – Serves 6-7
Cherry Frozen Yogurt with chocolate chips! So refreshing with the burst of cherries in every bite and it’s super easy to make!
Ingredients
- 400g Plain Greek Yoghurt
- 200g Cherries, Pitted
- 2 Tbsp Honey
- 50g Cherries, Pitted
- 50g 70% Dark Chocolate Chips/Chunks
Method
- Put the yoghurt, cherries and honey in a blender. Whiz until smooth. Taste, and adjust for sweetness.
- Chill the mixture well and freeze in your ice cream maker according to the manufacturer’s instructions.
- Add the cherries and chocolate chips ( if using) to the churning mixture in about ten minutes. Continue with the ice cream maker’s instructions.
- Once the ice cream is ready, in about 20 minutes, you can serve it immediately or turn it out in a pan and freeze it for 6- 8 hours to get a slightly harder/ scoopable consistency. Scoop into bowls/ cones, and serve immediately. Enjoy!
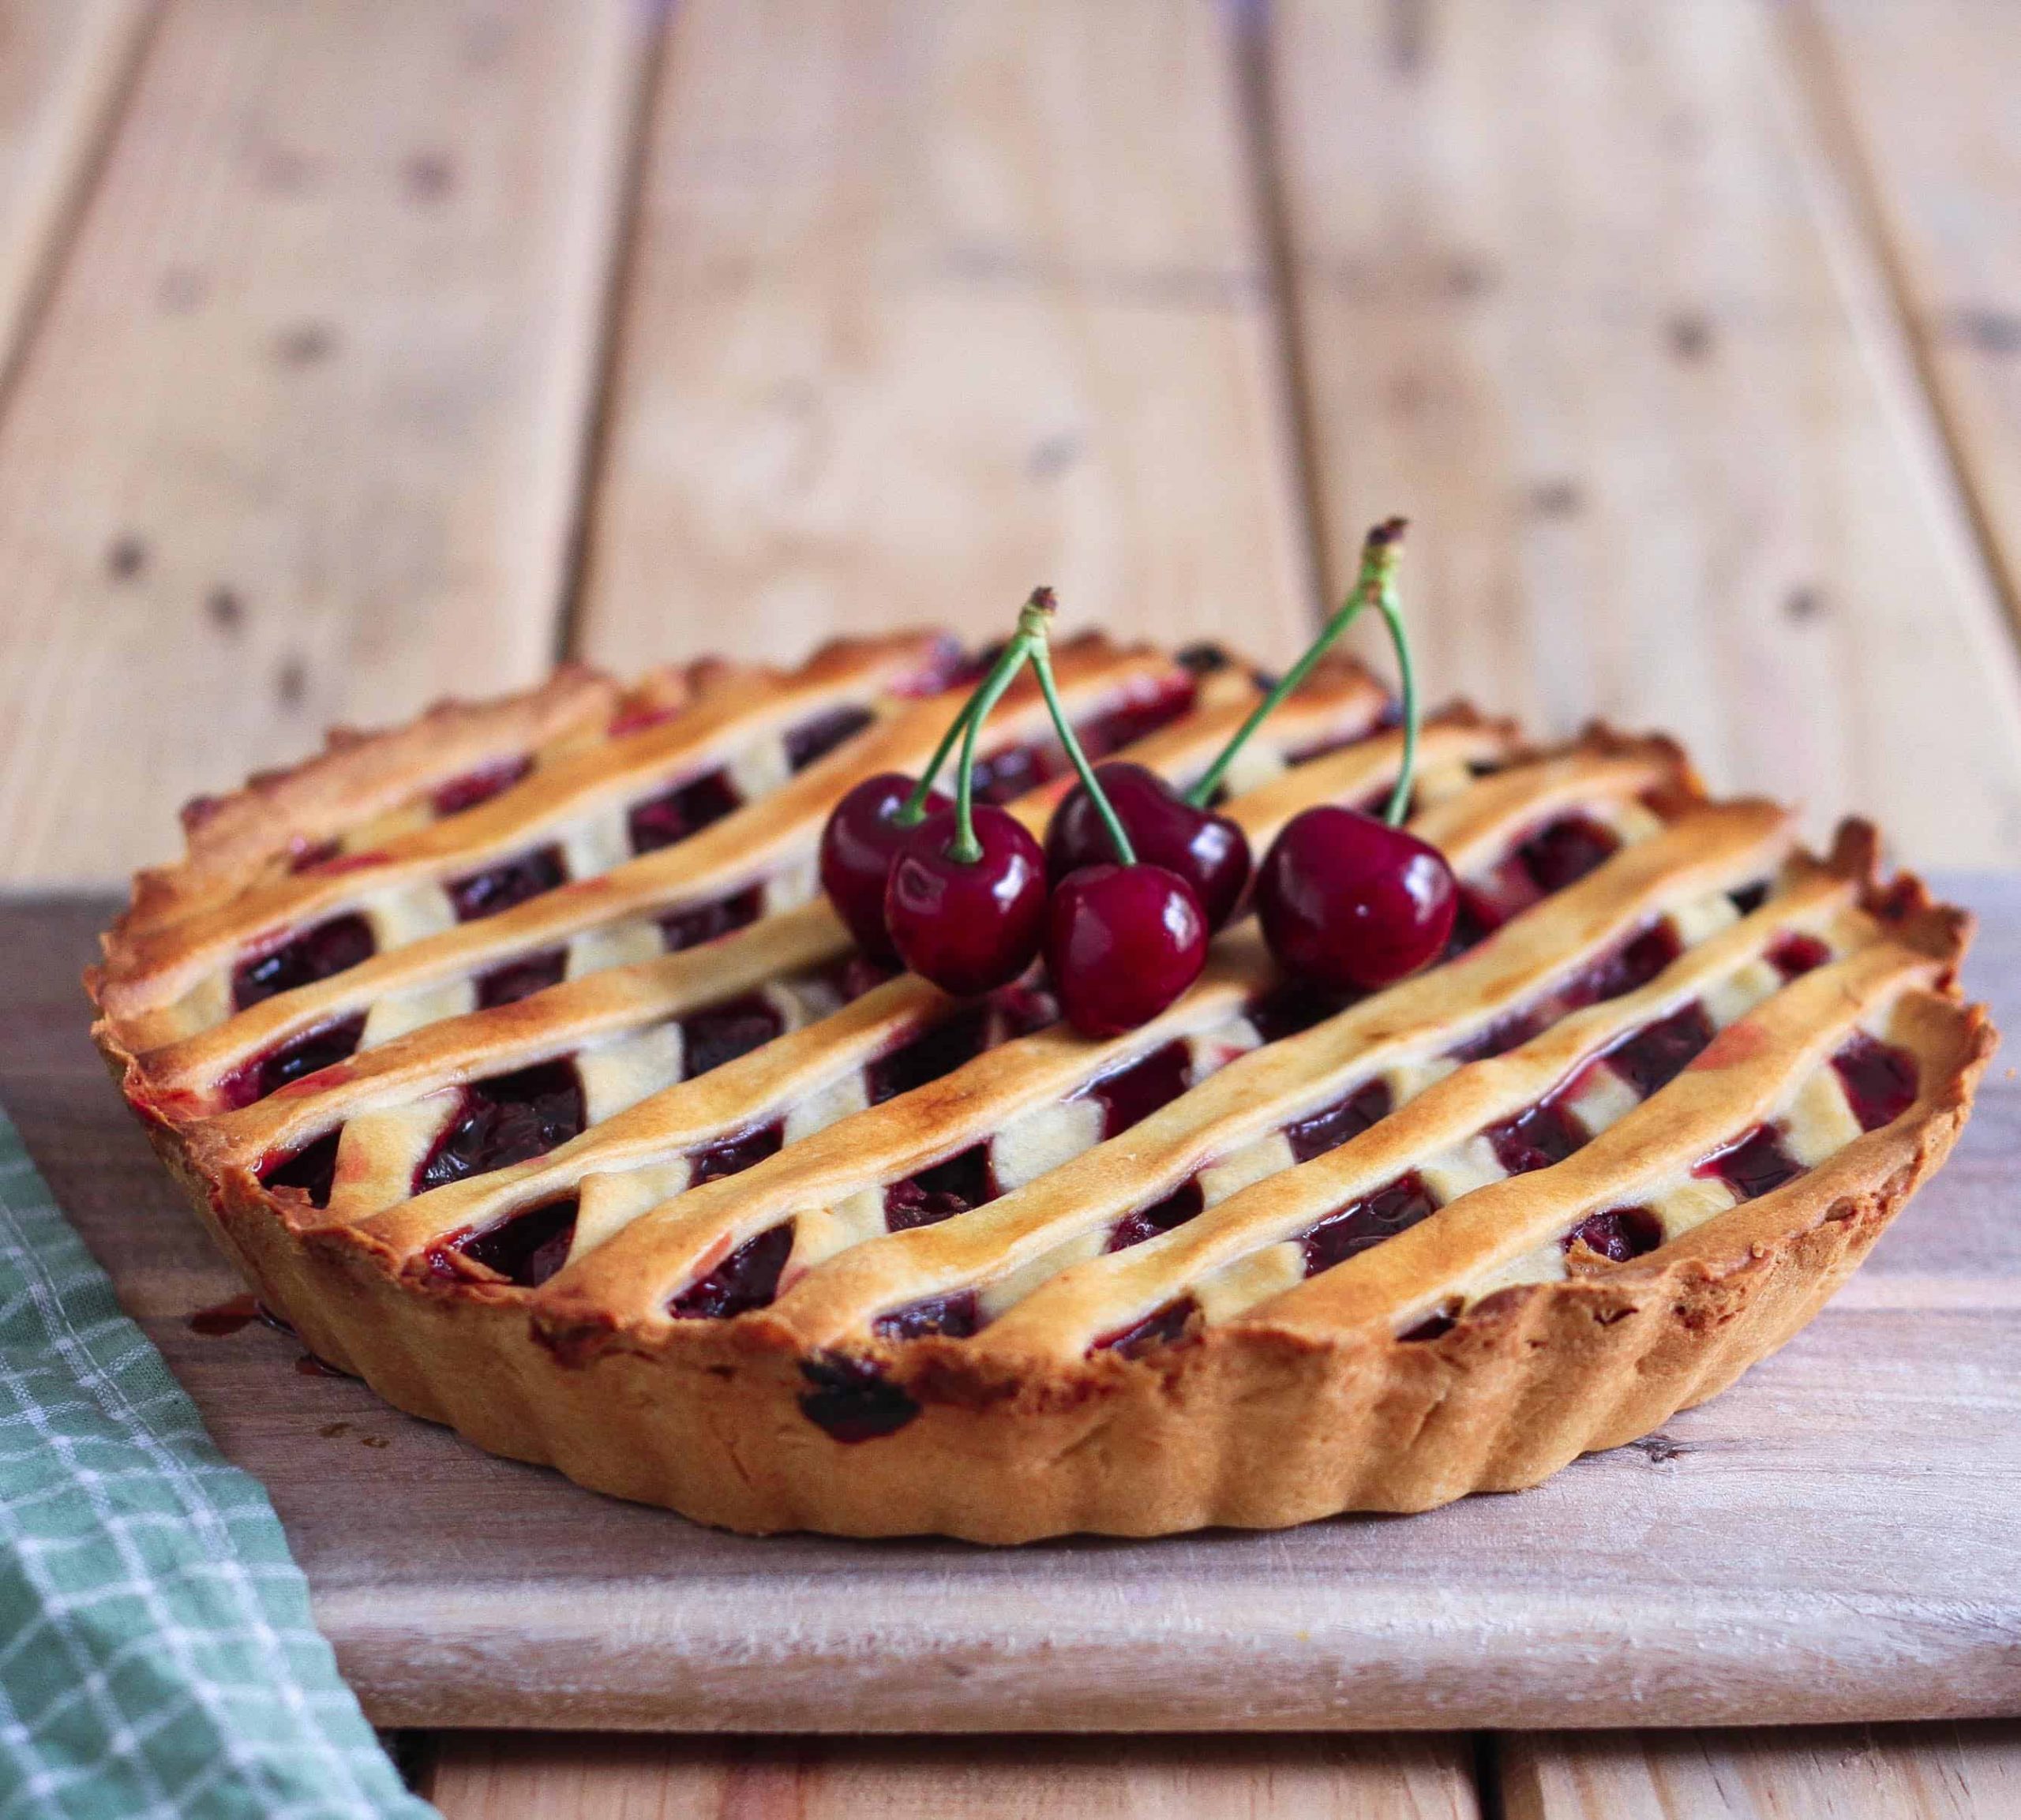
Cherry Pie
Sweet sour juicy filling encased in a buttery flaky crust…yes, you know you want it!

Ingredients
Pie Crust
- 200g Wholewheat Flour (you can use all purpose flour as well)
- 100g Butter, chilled, cut into cubes ( I used salted butter)
- 1 Tbsp Caster /Powdered Sugar
- 3-4 tbsp Chilled Water
Cherry Filling:
- 350-400g Cherries pitted
- 4-5 Tbsp Sugar
- 1 Tbsp Cornflour
- 2 Tsp Lemon Juice
Method
Crust:
- Combine the flour and sugar in a large bowl. Rub the chilled butter in the mixture, using your fingertips. When it resembles coarse breadcrumbs, add iced cold water, 1 Tbsp at a time, just enough to bind the dough. It can be a bit scraggy at this point but don’t worry, it will come together. Using the palm of your hand, push the dough away from you 4-5 times until it’s smooth.
- Roll into a ball and flatten it into a disk. Wrap in cling wrap and refrigerate until ready to use. This should rest for at least an hour.
- When you’re ready to bake, keep a 7″ pie pan handy and preheat the oven to 180° C.
Filling:
- Combine the pitted cherries, sugar, cornflour and lemon juice in a bowl.
Assembly:
- Unwrap the dough and flour your work surface well. Divide the dough into 2/3rd and 1/3rd parts.
- Working with the bigger part, roll it out into a 9″ circle. Place the dough gently into the pie pan. Trim the edges of the pastry to fit the sides of the pan.
- Spoon the cherry filling into the pie.
- Combine the pie trimmings with the balance pie dough. Roll it out into an 8″ circle. Using a sharp knife, cut into 16 strips. Lay 8 strips of dough on the pie filling in one direction. Crimp the edges of the strips with the pastry lining the pan. Now lay the balance 8 strips of dough crosswise across the filling. Again crimp the pastry edges. Brush with melted butter or cream or beaten egg.
- Bake for 30 -35 minutes or until the pastry is golden brown and the juices bubbling. Allow the pie to cool for a couple of hours before slicing and serving. Enjoy!
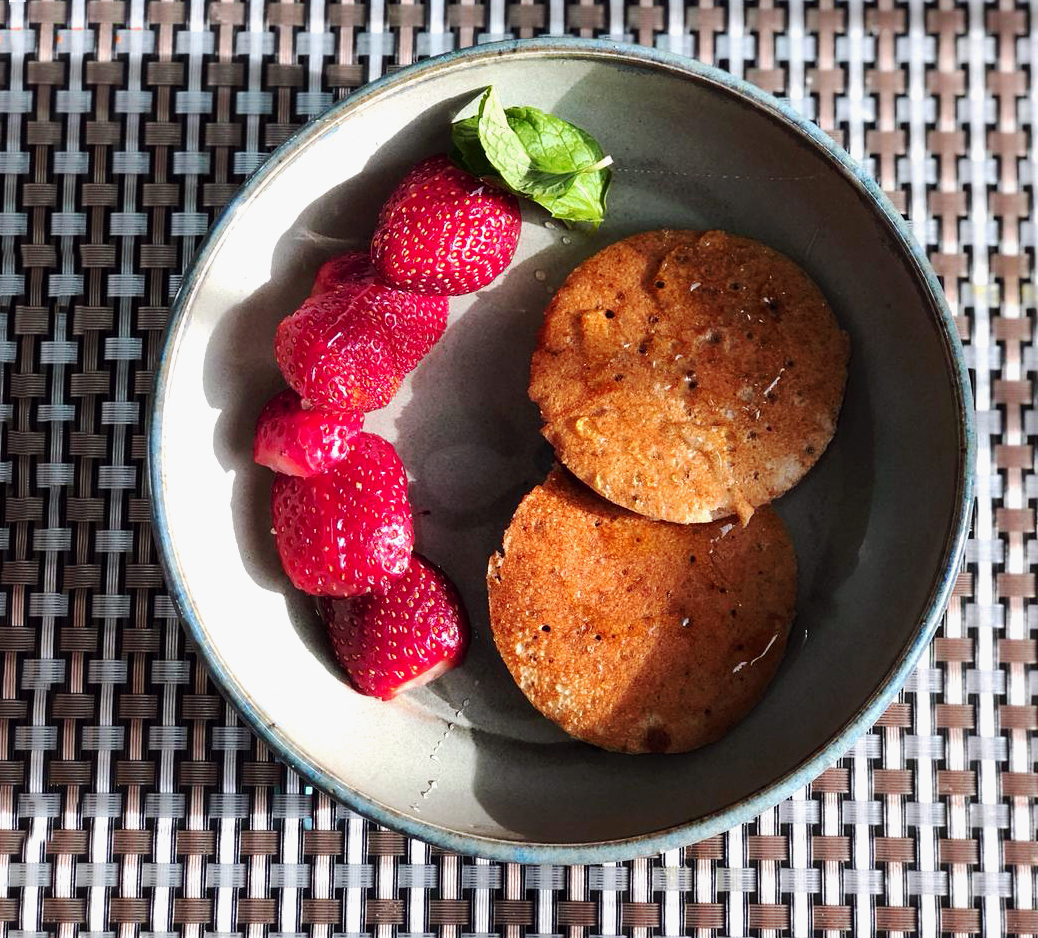
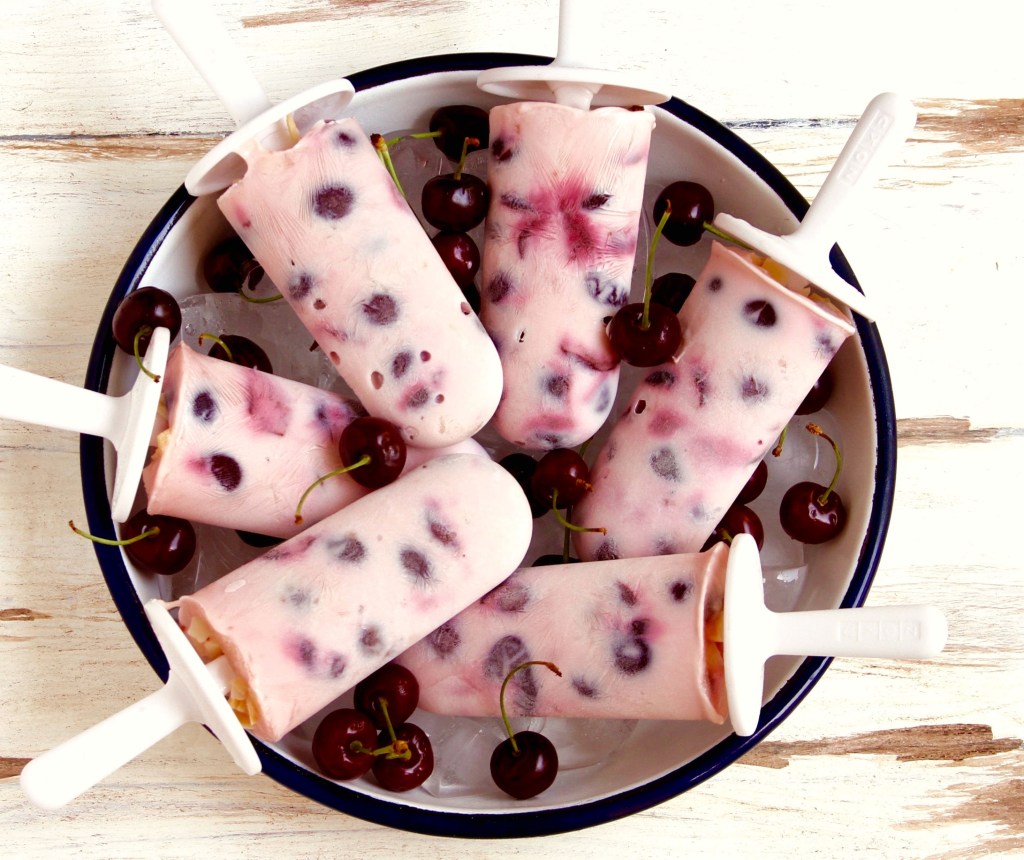
Easy Cherry Yoghurt Popsicles – 6 Popsicles
These healthy 4 ingredient popsicles make for a wonderful snack and dessert. I have no qualms about serving this refreshing frozen treat for breakfast either!
Ingredients
- 400g Greek Yoghurt, plain
- 1 Cup ( heaped) Cherries, pitted and chopped
- 2-4 Tbsp Honey (add more as per preference).
- 3 Tbsp Toasted Coconut Flakes plus 1 tbsp extra
Method
- Whisk the yoghurt and honey well. Stir in the chopped cherries with their juices. Taste and adjust for sweetness. Gently stir in the coconut flakes.
- Pour into your popsicle moulds. Top with some extra coconut flakes if you wish. Freeze for at least 8 hours. I prefer overnight. Gently pry out the frozen popsicles and enjoy!
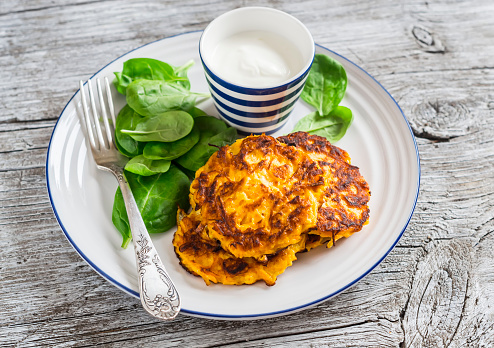
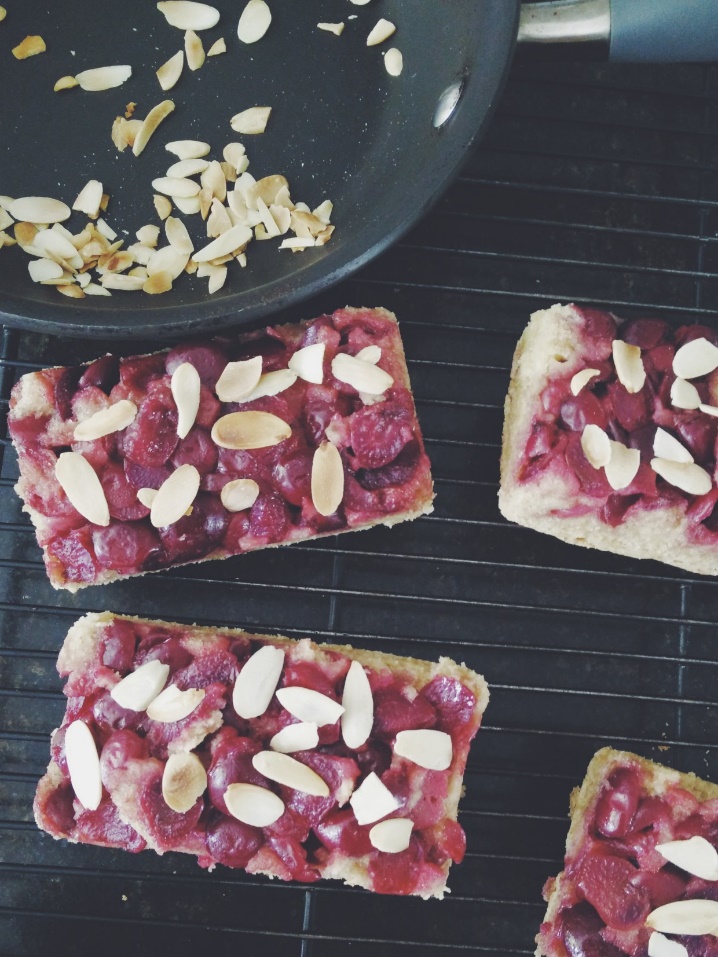
Upside Down Cherry Cake
This cake is quick to make and quick to disappear! I just love how the cherries release their delicious sweet-tarty juice into the cake, making it so lip smackin’ good!!
Ingredients
- 210g Wholewheat Flour
- 65g Almond Meal
- 2 Tsp Baking Powder
- 1/4 Tsp Salt
- 3 Eggs
- 150g Sugar
- 120 ml Oil
- 1 Tsp Vanilla Extract
- 2 Lemon Zest From 2 Lemons
- 2-4 Tbsp Milk
- 250g Cherries pitted
Method
- Preheat the oven to 180° C. Grease a 9″ cake tin or 6 mini loaf tins very well.
- Place the cherries at the bottom of the cake tin evenly. Make sure the bottom of the tin is covered completely, you want a nice thick layer of cherries. Put this aside.
- Combine the flour, almond meal, Baking powder, salt and lemon zest in a large bowl.
- Beat eggs and sugar really well. Drizzle in the oil. Add the vanilla.
- Fold the dry ingredients into this mixture. Add milk one tbsp at a time. You’re looking for a soft dropping consistency.
- Pour the cake batter carefully into your prepared pan. Bake for 30- 40 mins. or until a toothpick inserted in the centre comes out clean. The top of the cake should be golden brown and springy to touch.
- Take them out of the oven and let cool in the pan for 15 – 20 mins. Turn them out and serve them warm or at room temperature.
- Garnish with some toasted almonds and enjoy!!
Image Source: https://www.tashasartisanfoods.com/